Copyright Warning – ApnaTube
Do not upload movies, web series, TV shows, or any copyrighted content without proper authorization. You are given 24 hours to remove any copyrighted material from your channel. If our team finds any copyrighted content after this period, your channel will be permanently terminated without further warning. Upload only original or authorized content.
ApnaTube Team | www.apnatube.in
Quần short Tạo ra

my sweet journey
7
4
20

Capcut sound effectsVN App - Hack Trick #vn #hacktrick #royaldeveloper
VN App - Hack Trick #vn #hacktrick #royaldeveloper
#techtrick #techvideos #techvideo #instatech
#techreels #instareels #reelsindia #tech #technology

9
1
16
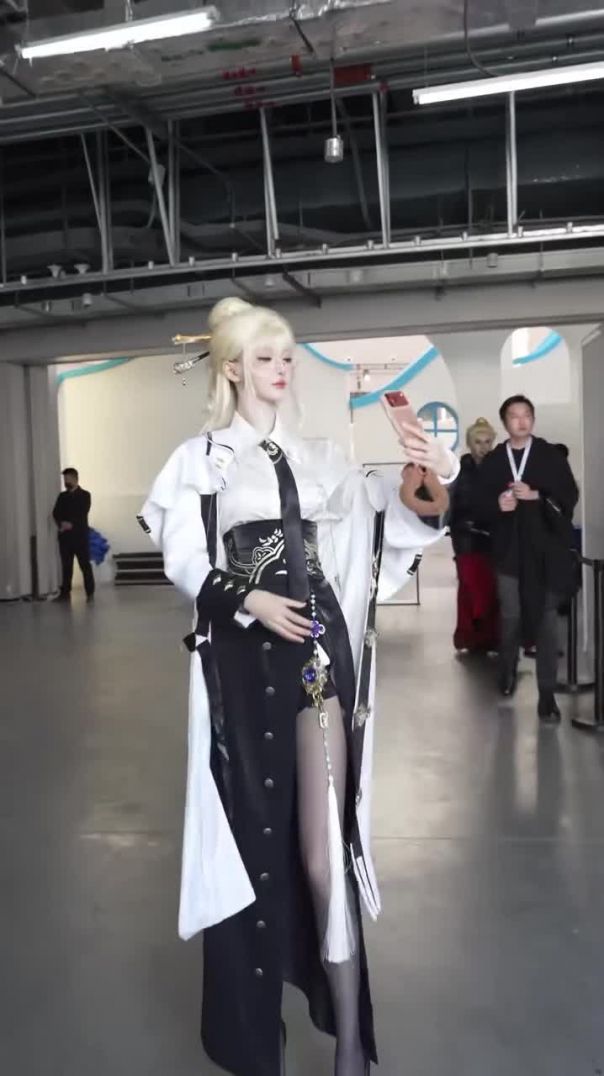
Modern Touch To Traditional Style 🔥 | Stunning Black & White Outfit

18
1
67

लकड़ी को इंग्लिशमें क्या कहते हैं

4
0
7
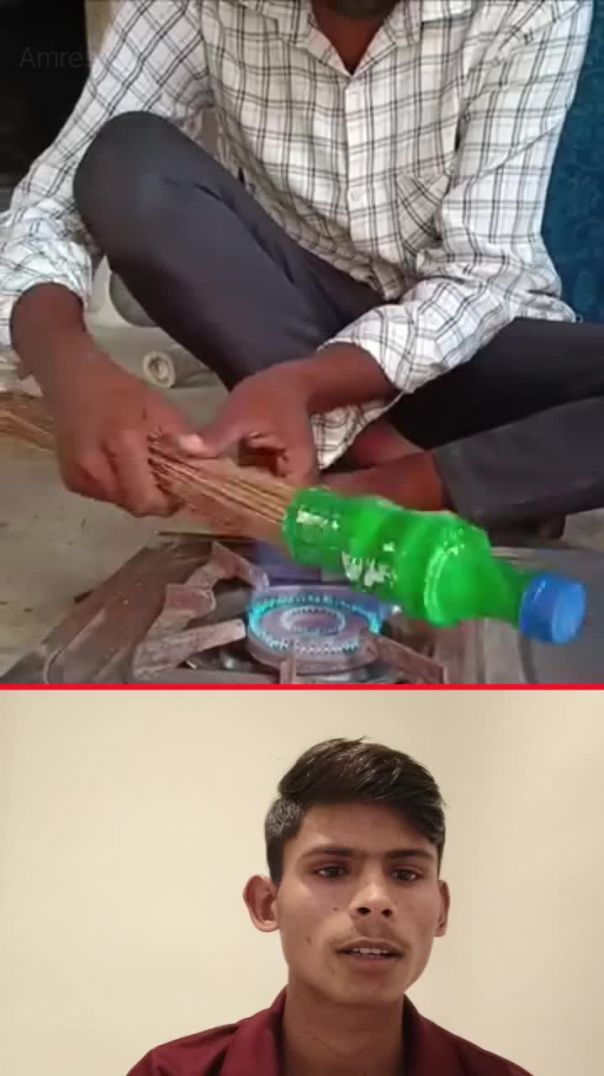
😘झाडू बांधने का आसान तरीका
6
3
15
