ApnaTube Android App ab available hai.
Videos dekhiye, points earn kijiye aur apna content upload kijiye. Download App: https://play.google.com/store/apps/details?id=com.apnatube.in
Pessoas e blogues
AISA KROGE TO MAST RHOGE
ha bhai ji 🤣🤣
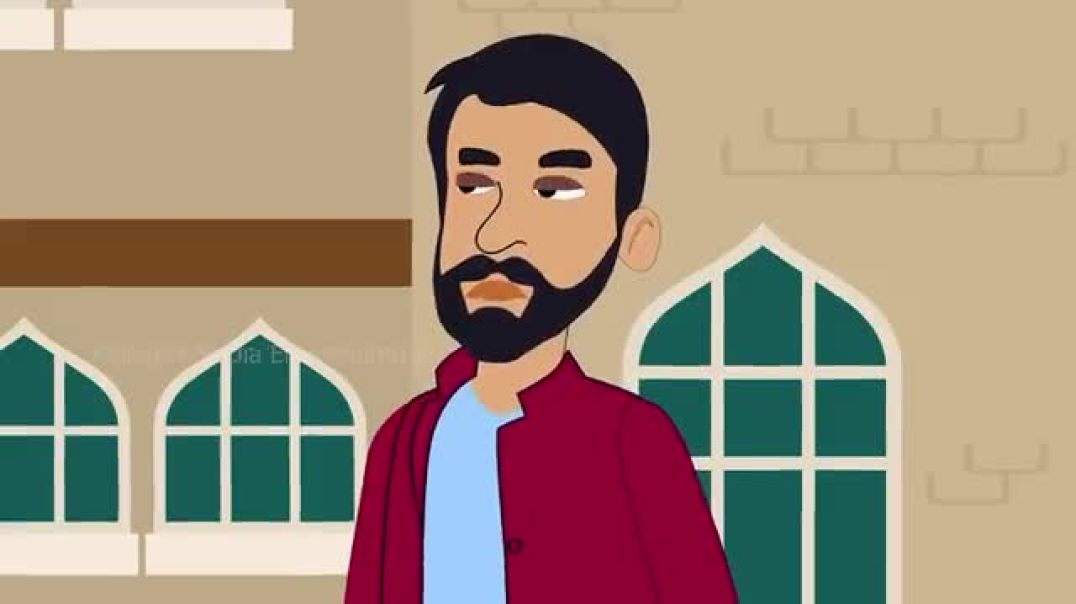
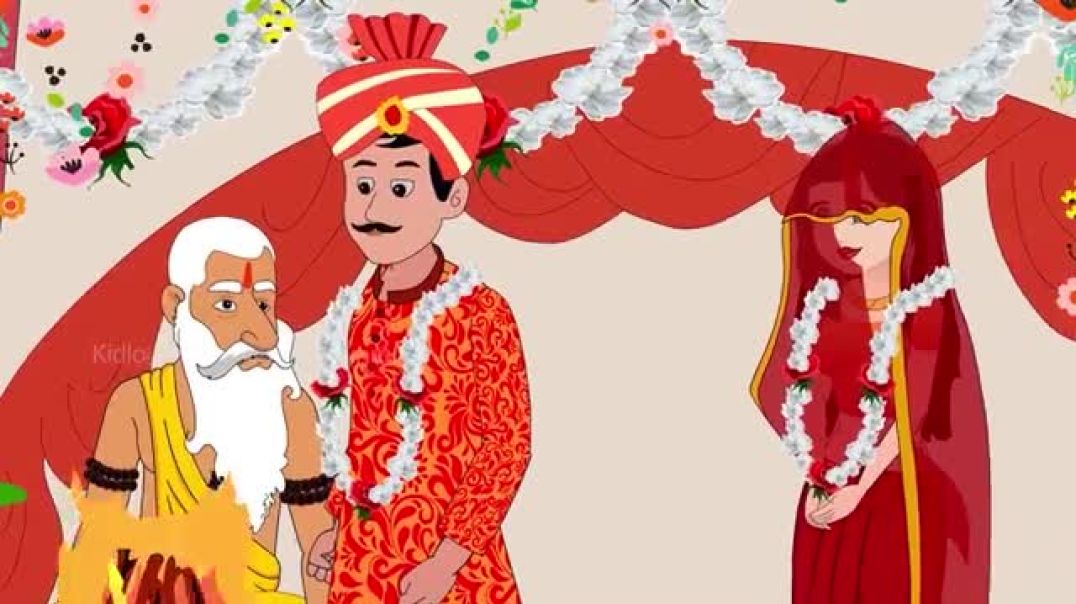
लाइन मारने वाली बहु _ Kahani _ Hindi Story _ Moral Stories _ Hindi Stories _ Bedtime Stories _ Story
kahani
animation story
animal story
moral story
cartoon story
animated story
viral short kahani
moves
intertenment
moves
pravachan

dubai life style
mini vlog 👍
g
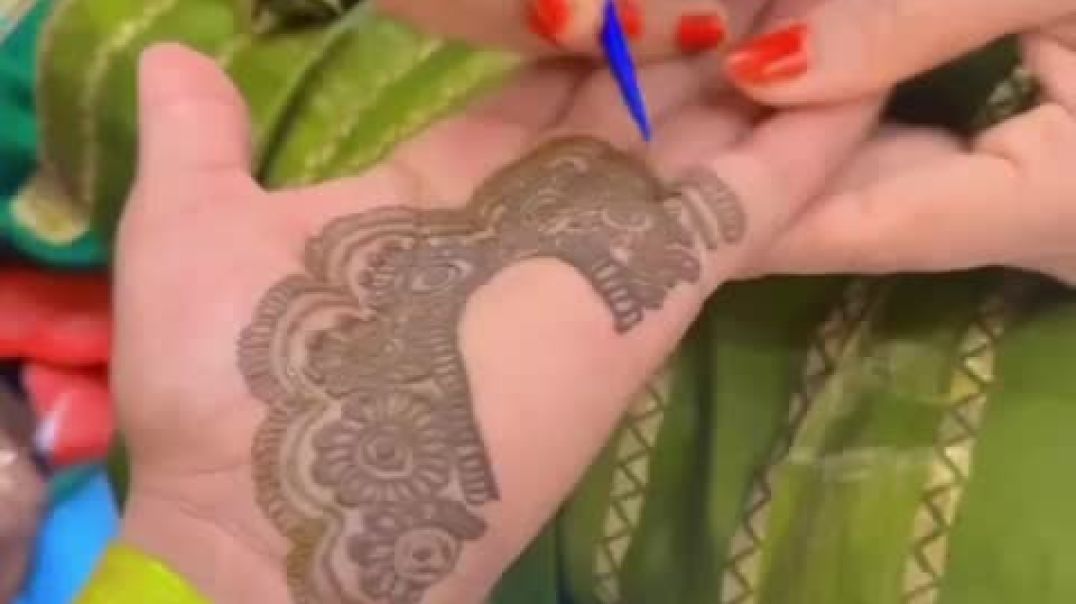
mama ji ka mehadi rasham
विधवा माँ dukh - Kahani _ Hindi Story _ Moral Stories _ Bedtime Stories _ Stories in Hindi _ Fairy T
kahani hindi
animal story
animated story
animation story
hourar story
moral story
cartoon story
viral story shorts
moves story
siriyal story
ससुर की चाहत ghar ki laxmi Hindi kahaniya _ Hindi Story _ Moral Stories _ Kahaniya _ Hindi Stories _
kahani
hindi kahani
cartoon story
moral story
viral shorts
motivation story
animation story
animal story
comady story
viral short story
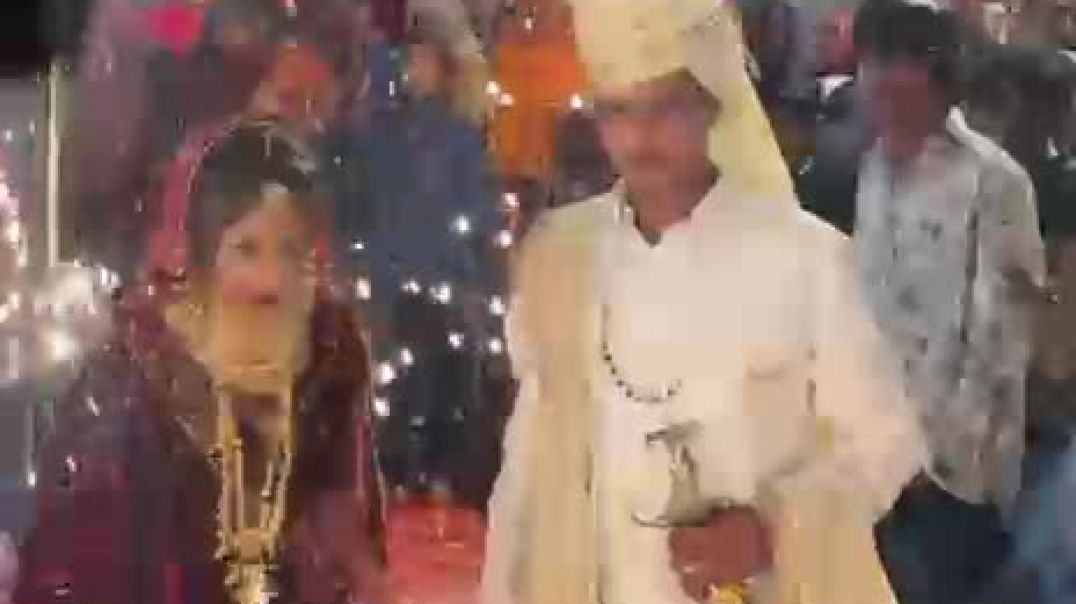
#marriade #marriage
विधवा बहू का फैसला Kahani _ Hindi Story _ Moral Stories _ Hindi Stories _ Bedtime Stories New Story(
kahani
hindi kahani
cartoon kahani
animation story
animal story
animated story
viral short kahani
ramayan story
mahabharat story
moves
sobg
song
katha
prabachan
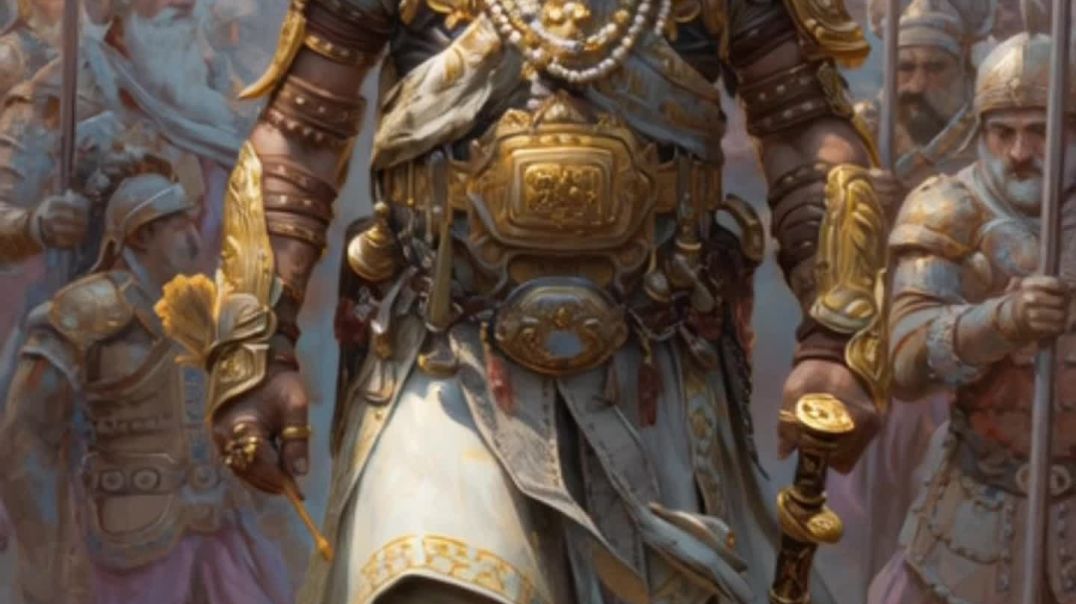
🌼Bhagavad Gita Adhyay 1 Shloka 5||Warriors of Dharma🌼#shorts#short #reels #ytshorts #foryou #viralvi
🌼Bhagavad Gita Adhyay 1 Shloka 5||Warriors of Dharma🌼#shorts#short #reels #ytshorts #foryou #ytshort
🍁Bhagavad Gita Chapter 1 Verse 5 highlights more great warriors standing firmly with the Pandavas on the battlefield of Kurukshetra.🍁
Dhrishtaketu, Chekitana, the King of Kashi, Purujit, Kuntibhoj, and Shaibya — all devoted protectors of Dharma.
Their unity shows why Duryodhana secretly fears the coming war.
This verse reminds us that righteousness gathers strength when needed most.
✨ Listen, learn, and feel the divine depth of the Gita.
🙏 Jai Shri Krishna❤️
#BhagavadGita #GitaShloka #Kurukshetra #Mahabharata #Dharma #SpiritualWisdom
#facts #shorts #short #moralstories #hindudeity #krishna #foryou #cartoon #reels #ytshorts #yt #shortvideo #shortsfeed
my life my style 😍😍💕💕
May short vlog Aasha pura mata ji
hello dosto

winters festival vlog
#festivals #melavlog #familyvlog #indianvlogger #camelride #singaporeairlines #funvlog #masti #carnivalvlog #travelvlog #kidsvlog #festivalseason #youtubevlog
Funny videos bhai kabhi to hana liya kar 😂
mere ko Bane Rahane ke liye aapka बहुत-बहुत dhanyvad aur kya chal raha hai aap sab theek hai mere channel per aap sabhi ka swagat Hai pahle subscribe karke mujhe bhi thoda aage badhane ka mauka dijiye aapka बहुत-बहुत dhanyvad

Walking with my Sheru 🦁
jsksosk
