Copyright Warning – ApnaTube
Do not upload movies, web series, TV shows, or any copyrighted content without proper authorization. You are given 24 hours to remove any copyrighted material from your channel. If our team finds any copyrighted content after this period, your channel will be permanently terminated without further warning. Upload only original or authorized content.
ApnaTube Team | www.apnatube.in
מִכְנָסַיִים קְצָרִים לִיצוֹר

🔥 The Thalapathy Live Performance 🔥
Welcome to an electrifying live performance of The Thalapathy, a song that celebrates energy, determination, confidence, and the spirit of a true leader. This performance brings together powerful music, dynamic stage presence, and an enthusiastic audience, creating an unforgettable experience for fans and music lovers alike.
From the very first beat, the atmosphere comes alive with excitement. The powerful vocals, energetic rhythm, and captivating performance make this song a favorite among fans. Every moment of the show is filled with passion, creating a connection between the performer and the audience. The crowd's cheers, the vibrant lighting, and the incredible energy on stage make this live performance truly special.
The Thalapathy is more than just a song; it is a celebration of courage, success, and the journey of overcoming challenges. Its inspiring lyrics and powerful composition motivate listeners to believe in themselves and keep moving forward toward their goals. Whether you are a long-time fan or hearing the song for the first time, this performance is sure to leave a lasting impression.
Sit back, enjoy the music, and immerse yourself in the excitement of this spectacular live show. If you enjoyed the performance, don't forget to like, share, and subscribe to support the channel and stay updated with more amazing music content.
Thank you for watching and being a part of this incredible musical experience. Your support means everything and helps us bring more entertaining performances to you.
#thethalapathy #liveperformance #music #tamilsongs #concert #stageshow #entertainment #viralmusic #musiclovers #liveshow #performance #trendingmusic #southmusic #fans #subscribenow 🎶🔥✨

0
0
1
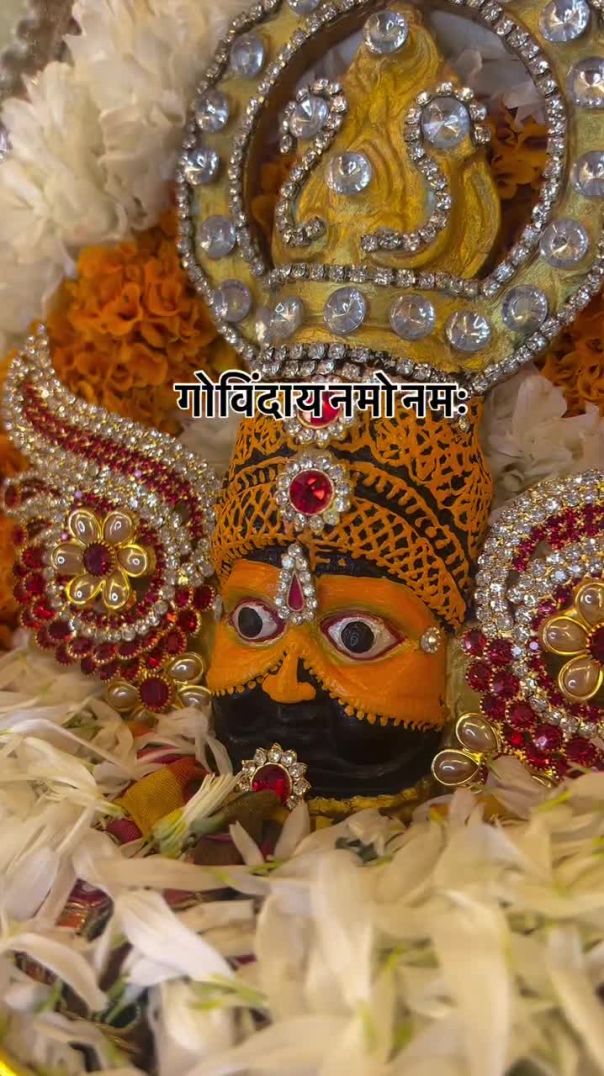
#khatushyam

8
4
29

yah red Hulk ki kahani Hai jisko pasand Aaye vah like Karen aur channel ko subscribe Karen real Hulk ek powerful sakti hai jo ki vah Rathore mein Parivartan karta hai

6
5
26

video bubble pop

3
2
18

PRADEEP KUMAR PKKK GAMING
MY SECOND YOUTUBE CHANNEL SUBSCRIBE ALL FRIENDS LINK👇
Name. SKKK GAMING
https://youtube.com/channel/UC....wI40LlxqkWBkOVyPKP2g
INSTRAGRAM. LINK 👉 https://www.instagram.com/pradeep_kumar_pkkk_gam
TWITTER LINK.
https://twitter.com/PkkkKumar?s=09
FACEBOOK LINK. https://www.facebook.com/profi....le.php?id=1000281639
MOJ ACCOUNT LINK. https://mojapp.in/@pradeepkumarpkkkgaming
THANK FOR WATCHING
PLEASE SUBSCRIBE ALL FRIENDS FOLLOW GYS
Tile work involves preparing the surface, laying out the tile pattern, mixing adhesive, cutting tiles as needed, adhering tiles to the prepared surface, and then applying grout to the joints. Key steps include proper sub-surface preparation, using spacers for uniform joints, ensuring the tiles are level, allowing the adhesive to cure, cleaning the tiles during installation, and then grouting and cleaning the joints.
This video demonstrates the process of laying floor tiles, including checking for level and alignment:
Surface Preparation
Clean and level the surface: Ensure the subfloor or wall surface is clean, dry, smooth, and structurally sound.
Prepare the substrate: For floors, this may involve cleaning existing concrete or preparing a suitable base. For walls, ensure plasterwork is complete and waterproof where necessary.
Waterproofing: If tiling an area exposed to water (like a bathroom), apply a waterproofing layer.
2. Layout and Dry Lay
Mark layout lines: Establish center lines for your layout using a spirit level or laser level to guide the tile placement.
Dry lay: Lay out tiles on the surface without adhesive to visualize the pattern, assess cuts, and make adjustments to the layout for better results.
3. Mixing and Applying Adhesive
Mix adhesive/mortar: If using a traditional method, mix cement and sand with water to create a honey-like consistency mortar.
Apply adhesive: Spread the adhesive evenly on the prepared surface using a notched trowel.
4. Setting the Tiles
Place tiles: Begin placing tiles along the layout lines, pressing them gently into the adhesive with a rubber or wooden mallet to ensure even adhesion and a level surface.
Use spacers: Insert tile spacers to maintain uniform spacing and straightness of the horizontal and vertical joints.
Cut tiles: Use a diamond or wet saw to cut tiles as needed for edges and corners, ensuring clean and accurate cuts.
You can watch this video to learn the basics of tiling a wall, including using tools like a trowel and placing tiles:
5. Grouting and Cleaning
Allow adhesive to cure: Let the adhesive cure completely for the time recommended by the manufacturer.
Apply grout: Once cured, clean the joints and apply grout using a grout float or sponge, forcing it into the gaps.
Clean excess grout: Wipe off excess grout with a damp sponge before it sets, and polish the tiles with a dry cloth to a clean, blemish-free finish.
6. Final Steps
Curing: Allow the tiled area to remain undisturbed for at least 24-48 hours for proper bonding.
Clean the area: Thoroughly clean the completed tiled surface.
Thank you for all family members

6
4
20

💝💝
4
2
11