close
ApnaTube Android App ab available hai.
Videos dekhiye, points earn kijiye aur apna content upload kijiye. Download App: https://play.google.com/store/apps/details?id=com.apnatube.in
Kurze Hose Erstellen

#animated
4
6
20
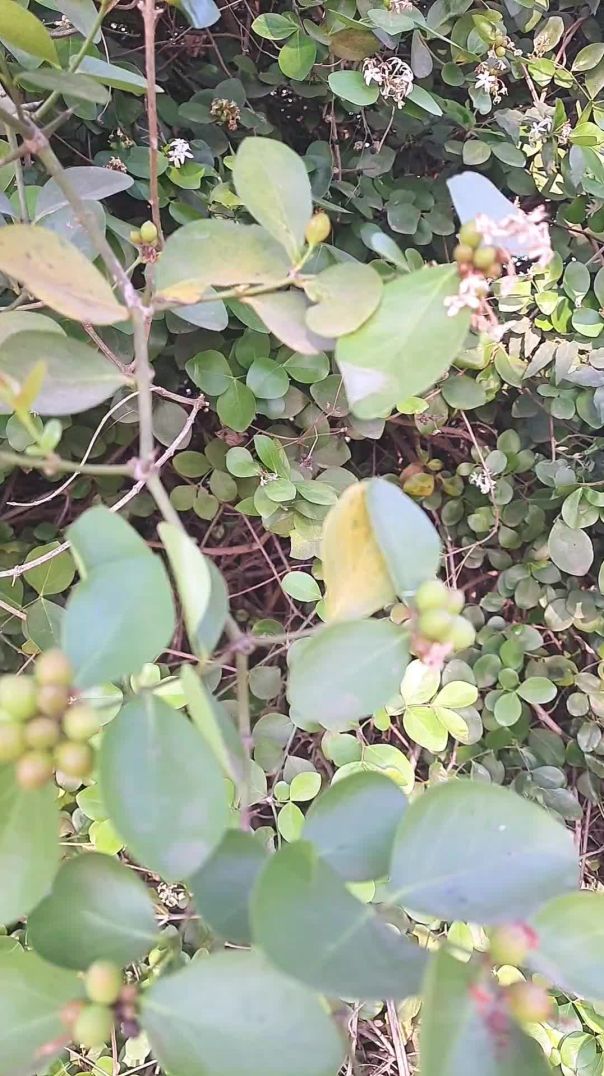
करमदे की सब्जी और अचार 🥰
trending clipo
viral clipo
farmar
farming
villagelife
Villagerlifestyle
Villagerlifestyle clipo

1
3
9

nice to me #@5356🌹🌹🌹💕💕sapport my channel 🌺🌺

4
3
12
Crazy Cartoon House
0
1
1

Riste nibhne ka gyan n de

4
3
9

“Kailasa Temple Shock After ASI Guide Abdul’s Statements Go Viral”😶

9
5
23
