close
Important Announcement
Title, thumbnail ya video me agar abusing, adult ya sexually explicit content paya gaya to channel bina kisi warning ke permanent delete kar diya jayega. Yeh rule turant lagu hai. Ab tak 350+ channels delete kiye ja chuke hain. Kripya kisi bhi prakar ka adult ya abusive content upload na karein. Rule violate hone par channel bina bataye delete ho jayega.
— Team ApnaTube
Clipo Lumikha
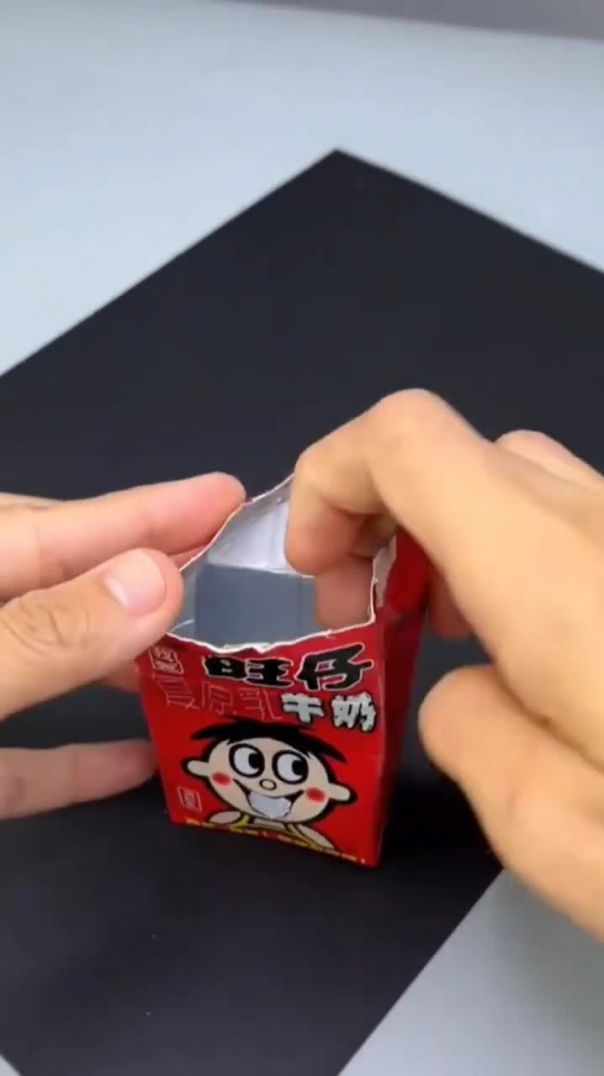
diy waste box
2
2
12

New video Editor capcut pro 👍

4
2
10
couple relationship
love relationship
romantic relationship
cute relationship
2
1
12

Audi Edit 🔥
Luxury + Performance
Would you drive this car?
#audi #cars #automotive #shorts
1
2
5

10 interesting facts about sun 🌞 #sun #fact #viral #short #viralshort

0
1
5

hemesh
0
0
2
