close
Copyright Warning – ApnaTube
Do not upload movies, web series, TV shows, or any copyrighted content without proper authorization. You are given 24 hours to remove any copyrighted material from your channel. If our team finds any copyrighted content after this period, your channel will be permanently terminated without further warning. Upload only original or authorized content.
ApnaTube Team | www.apnatube.in
Şort oluşturmak
Bu video işleniyor, lütfen birkaç dakika içinde geri dönün
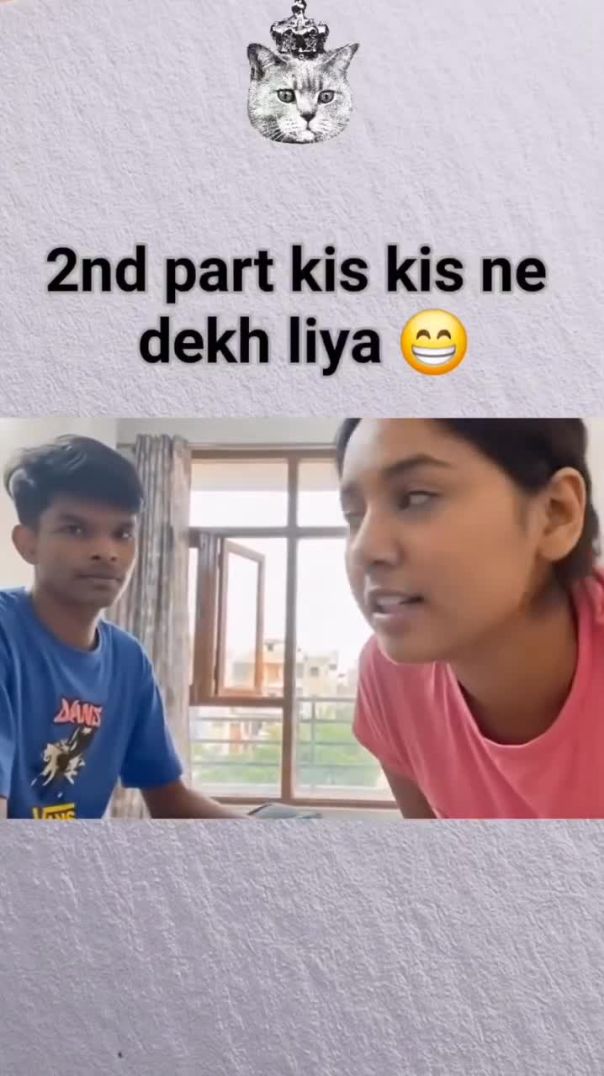
puri video dekhen

7
3
18
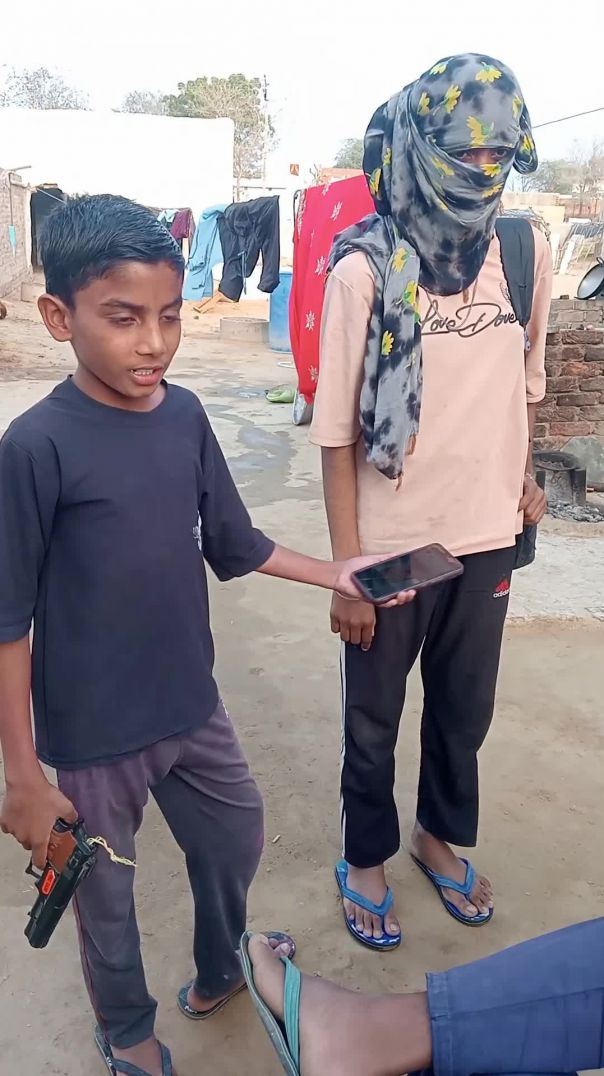
funy comdy

1
1
7
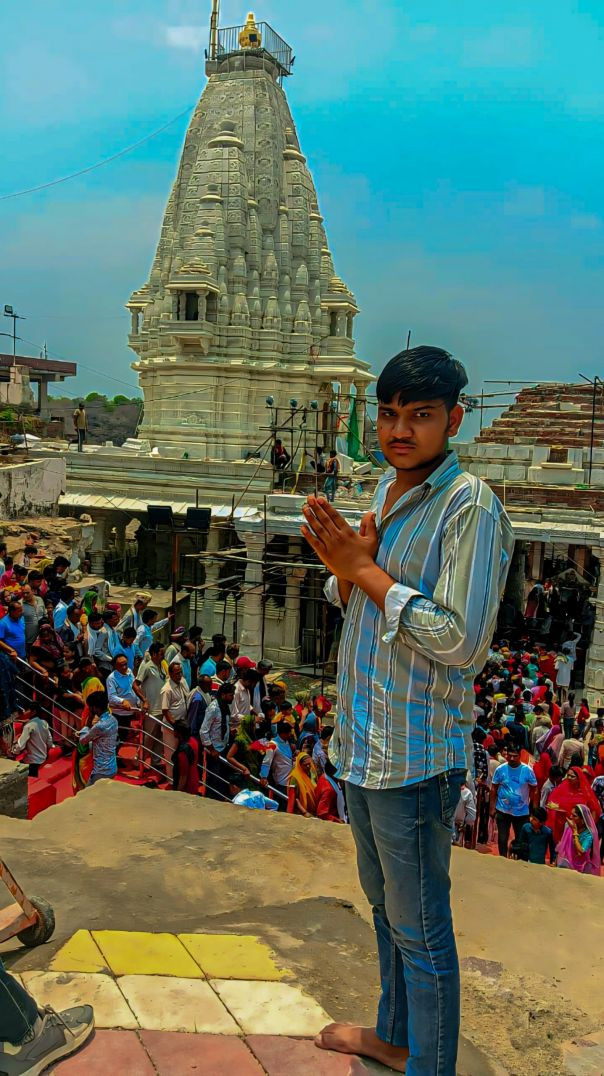
jai mata di 🙏🚩

2
0
11
अ से अनार
education with fun
9
3
20

ai janarat video
5
2
10
